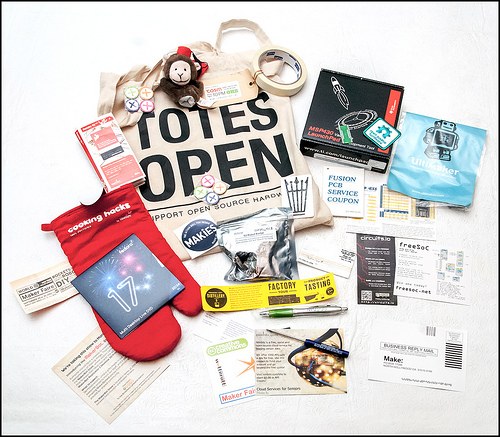
I sponsored the 2011 Open Hardware Summit but didn't take the opportunity to put anything in their goodie bag that year. (Incidentally, does anything sound stupider than the term goodie bag?) When I sponsored again this year, I needed to find something for the bag that would:
- be cheap to produce,
- promote my company to potential customers at OHS (because, hey, my ex-wife has to eat),
- not get thrown away.
Unlike TI, I can't deal out $5 LaunchPads to 450 OHS attendees. To be honest, I can't even afford a bare PCB at $1. And even if I could, an unpopulated PCB with the company name on it doesn't really tell somebody much about XESS. Printed stuff like flyers is better for that, but those are the first thing people throw away when they go through the bag. Still, something printed is the only thing that would meet my cost constraints. I just needed a way to keep them out of the garbage can.
Years ago during a discussion about UARTs, someone pulled a tattered business card out of his wallet and said "I've had this guy's business card for years. I keep it because it has an ASCII code table on the back." That's what I needed.
But it's kind of a crapshoot as to what single piece of information will make a person keep a business card for years. So I scaled the idea up to a 4" x 6" postcard and put a bunch of different stuff on it, figuring that someone would keep it if they found even one thing on it that they liked. Here are the items I selected:
- A table of standard resistor values with their color codes for 10%, 5% and 1%-tolerance resistors.
- A nomogram for computing resistor and capacitor voltage dividers using standard values.
- Some symbols and pinouts for common transistors, MOSFETs, diodes and LEDs.
- A state transition diagram for the JTAG TAP finite-state machine.
- A table of switching thresholds for various digital logic families.
- Lists of all the Python keywords and built-in functions.
- A pinout for the XuLA2 FPGA board.(This is the only XESS marketing info and it takes up less than 12% of the card area.)
- An ASCII code table. (How could I not put that on?)
I placed these things on the front or back of the postcard depending upon whether they were more aligned with analog or digital design. Here's what my "Maker's Toolbox" card looks like:

Based on a Twitter recommendation from @macegr, I had 1000 of the postcards printed at OvernightPrints for $102.88 (that includes shipping). So I got my promo cost down to around a dime per attendee.
I've made my design files for the postcard available under a Creative Commons Share-Alike license. Now you can create your own cards for the 2013 OHS. Here are some ideas to get your creative juices flowing:
- A list of the unwritten rules for open-source hardware. (There seem to be so many of these now that I'm sure you could fill an entire card with them.)
- "Heroes of OSHW" trading cards with pictures and statistics on the OSHW projects they've created. (Be sure to look out for that original Limor Fried rookie card!)
- "Criminals of OSHW" trading cards with people who have violated one or more of the unwritten rules. (Don't miss your chance to make a flip card with Tangibot on one side and Makerbot on the other!)
Here's a few notes about the design files in case you want to modify or extend them:
- The postcard design was done using Inkscape 0.48.2.
- All the tables were done using LibreOffice3 Calc. I displayed each table as large as I could on the monitor and then screengrabbed it with PicPick. Then I exported it from there as a PNG file and dropped it into the Inkscape drawing. This works much better than trying to insert Postscript or PDF files into Inkscape.
- The nomogram was generated using pynomo. Once again, I displayed the output on the monitor, screengrabbed it and dumped the PNG file into Inkscape. Then I drew white, borderless rectangles over the axis labeling and re-entered the numbers directly in Inkscape. (It's more work, but it gives a nicer result.)
- The images of the TO-92, SOT-323, diode and LED packages were taken from Google Images. (I probably violated someone's copyright with this, so come and get me!)
- Everything else was created directly in Inkscape.
- The master Inkscape SVG file has three layers: a white background layer, a middle layer for content, and a top layer showing the mechanical boundaries when the card is cut to size. Hide the top mechanical layer when you generate the image file for the printer.
- Select the front of the card and export the bitmap as a PNG file using 300 DPI. Do the same for the back of the card.
- For more accurate color reproduction, convert the PNG files with RGB colors into TIFF files with CMYK colors using the online service at http://www.rgb2cmyk.org.
- Send the TIFF files to www.overnightprints.com. Make sure to select a glossy coating for your card; it's really worth it!


Comments
New Comment