This product is currently unavailable.
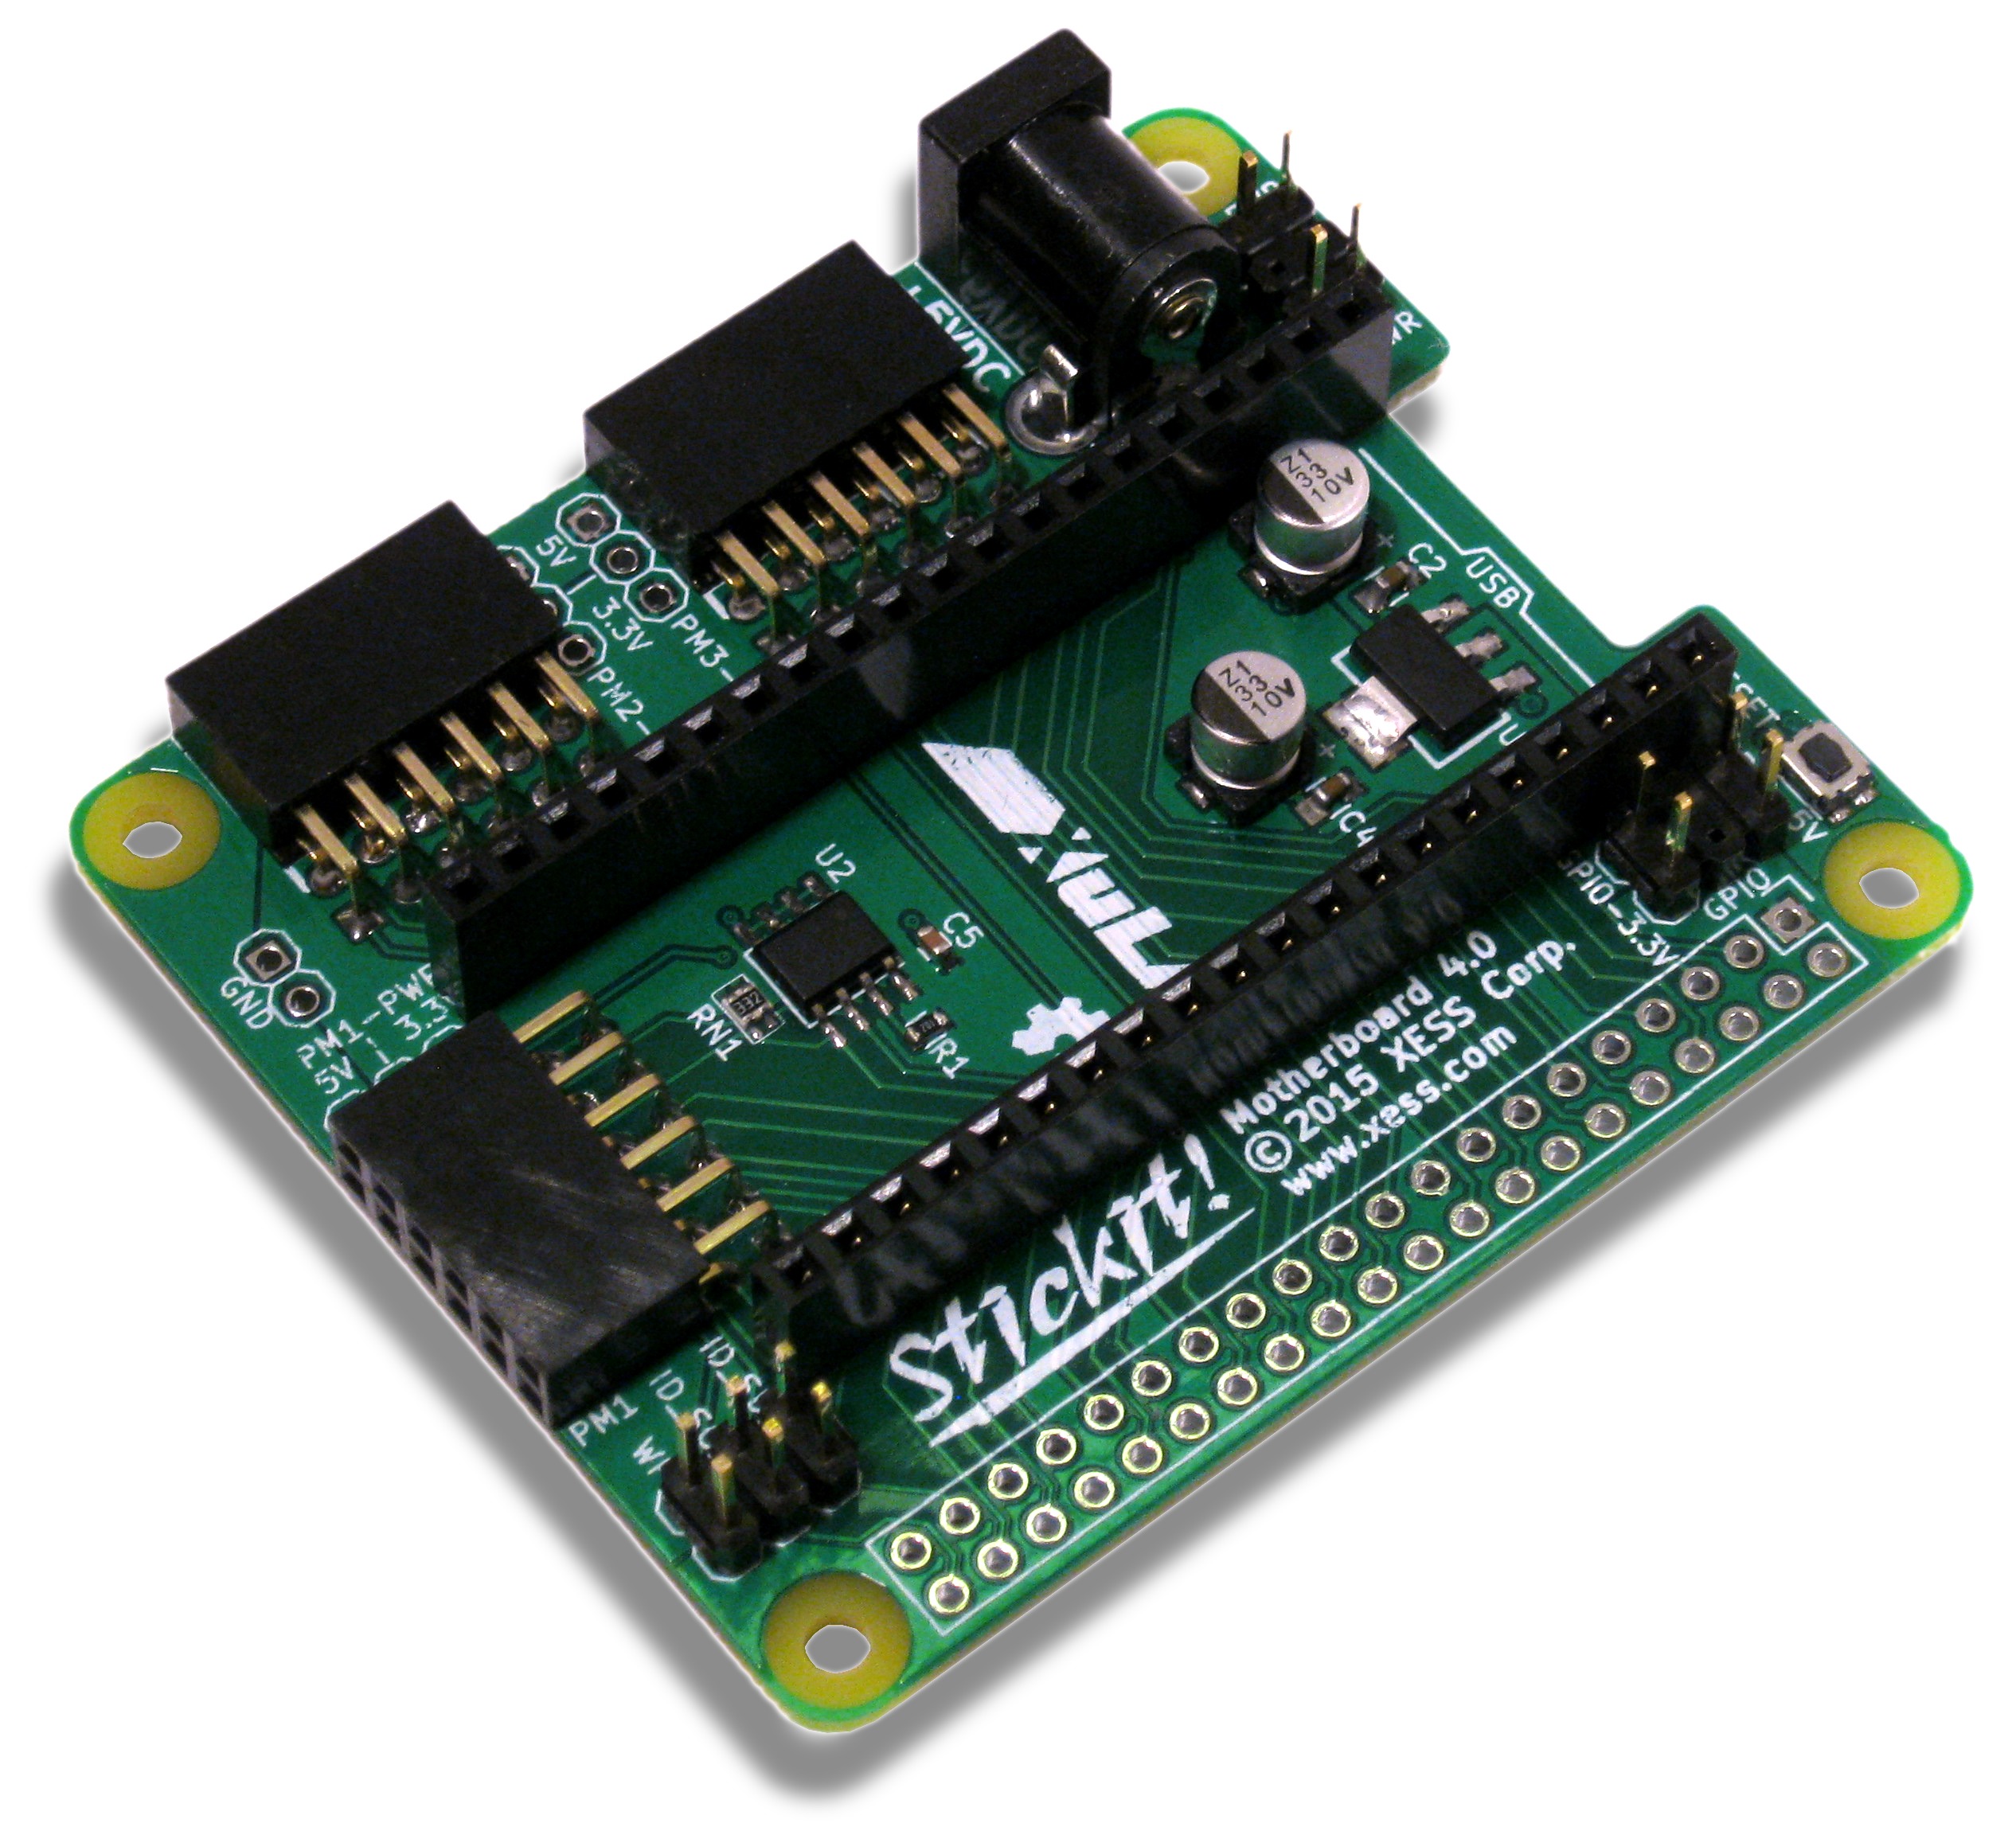
It's still a StickIt! Board! You still stick one of our XuLA FPGA boards into it and stick PMODs around it to add new capabilities. But now you can also build applications by sticking the whole thing onto a Raspberry Pi. (The Raspberry Pi people call this Hardware Attached on Top or a HAT.)
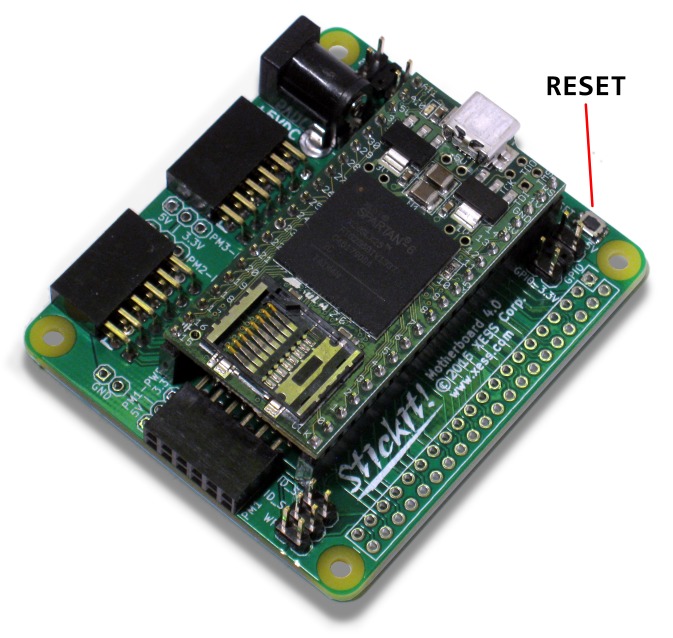
Just insert a XuLA board in the center socket and connect peripherals to the PMOD sockets along the edge of the StickIt! Board. Then load bitstreams from your PC through the USB port to program the FPGA so it can control the various peripherals. All the features of the XuLA board are still available when you use the StickIt! Board, so you can do things like use it in a stand-alone mode just by programming the Flash on the XuLA board and letting it configure the FPGA whenever the power comes on.
You can attach the StickIt! Board to a Raspberry Pi through the 40-pin connector. Up to 26 I/O pins are available to transfer signals between the Pi and the XuLA board. This lets you build applications where the Pi provides a standard linux environment coupled to the XuLA FPGA and some PMODs for doing specialized processing and interfaces.
We've got a whole set of peripheral modules with more to come. There are also many PMODs made by other companies.
We've learned we can't anticipate everything you want. And we don't have the resources to design and build every board variation you can think of. So we gave up and made the entire StickIt! Board design open-source. All of it: bitstreams, schematic, PCB layout, documentation — everything! If you don't like what we built, you can re-design it and build it your way. And you can sell it to others free-and-clear of any royalties. (But you have to open-source your design just like we do.)
Now it's up to you. You can read the FAQ that follows to get more information, and peruse the StickIt! Board manual for all the details. Send us an email if you can't find an answer to your question.
When you order a StickIt! Board, all you get is the board (plus a few 40-pin connectors). That's it. The StickIt! Board doesn't need any software itself. And the manual is online. As for the fancy box, well, sorry about that. Think of it as "saving the environment".
The StickIt! Board manual will tell you how to set up your board, and it will provide some generic instructions for how to use PMODs and the Raspberry Pi. Each StickIt! peripheral module you buy from XESS will come with design examples that show you how to use that particular module. Those may also help if you're using a module from another manufacturer.
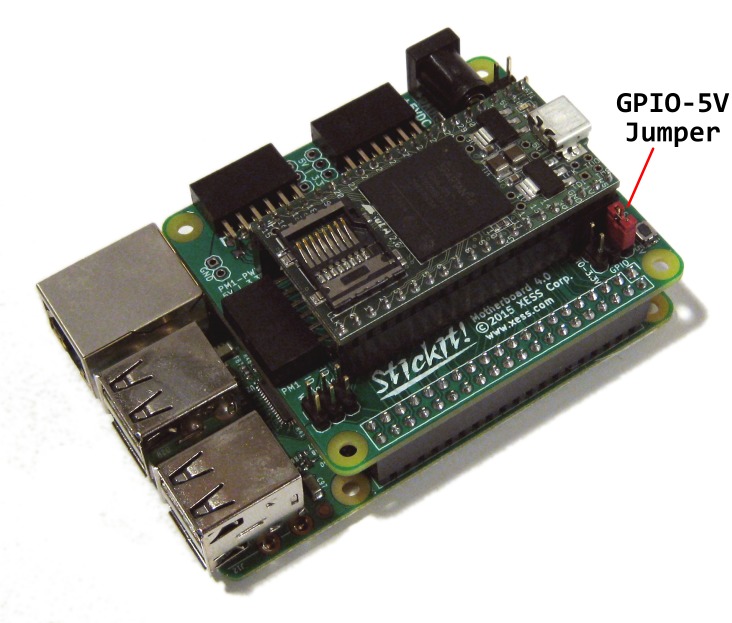
The StickIt! Board can get power from a USB port via the attached XuLA board. Or you can supply power to both the StickIt! Board and the XuLA board with an external power adapter. Or tap into the 5V power supply available through the Raspberry Pi connector. Or you can use a combination of these methods.
The StickIt! Board itself doesn't really consume any power. (Well, the linear voltage regulator and the serial EEPROM do take some power.) It serves mainly as a pass-through device between the XuLA board and whatever modules are plugged into the PMOD and Raspberry Pi sockets.
Yes. However, only two of the PMOD connectors are usable since the USB connectors on the Pi obstruct the PM1 socket. You can get around that by using an extra tall socket for mating the StickIt! Board and the Pi, but it looks a little weird. Or you can replace the right-angle PMOD socket on PM1 with a verical socket and mount a peripheral module standing upright. (I guess that looks a little weird, too.)
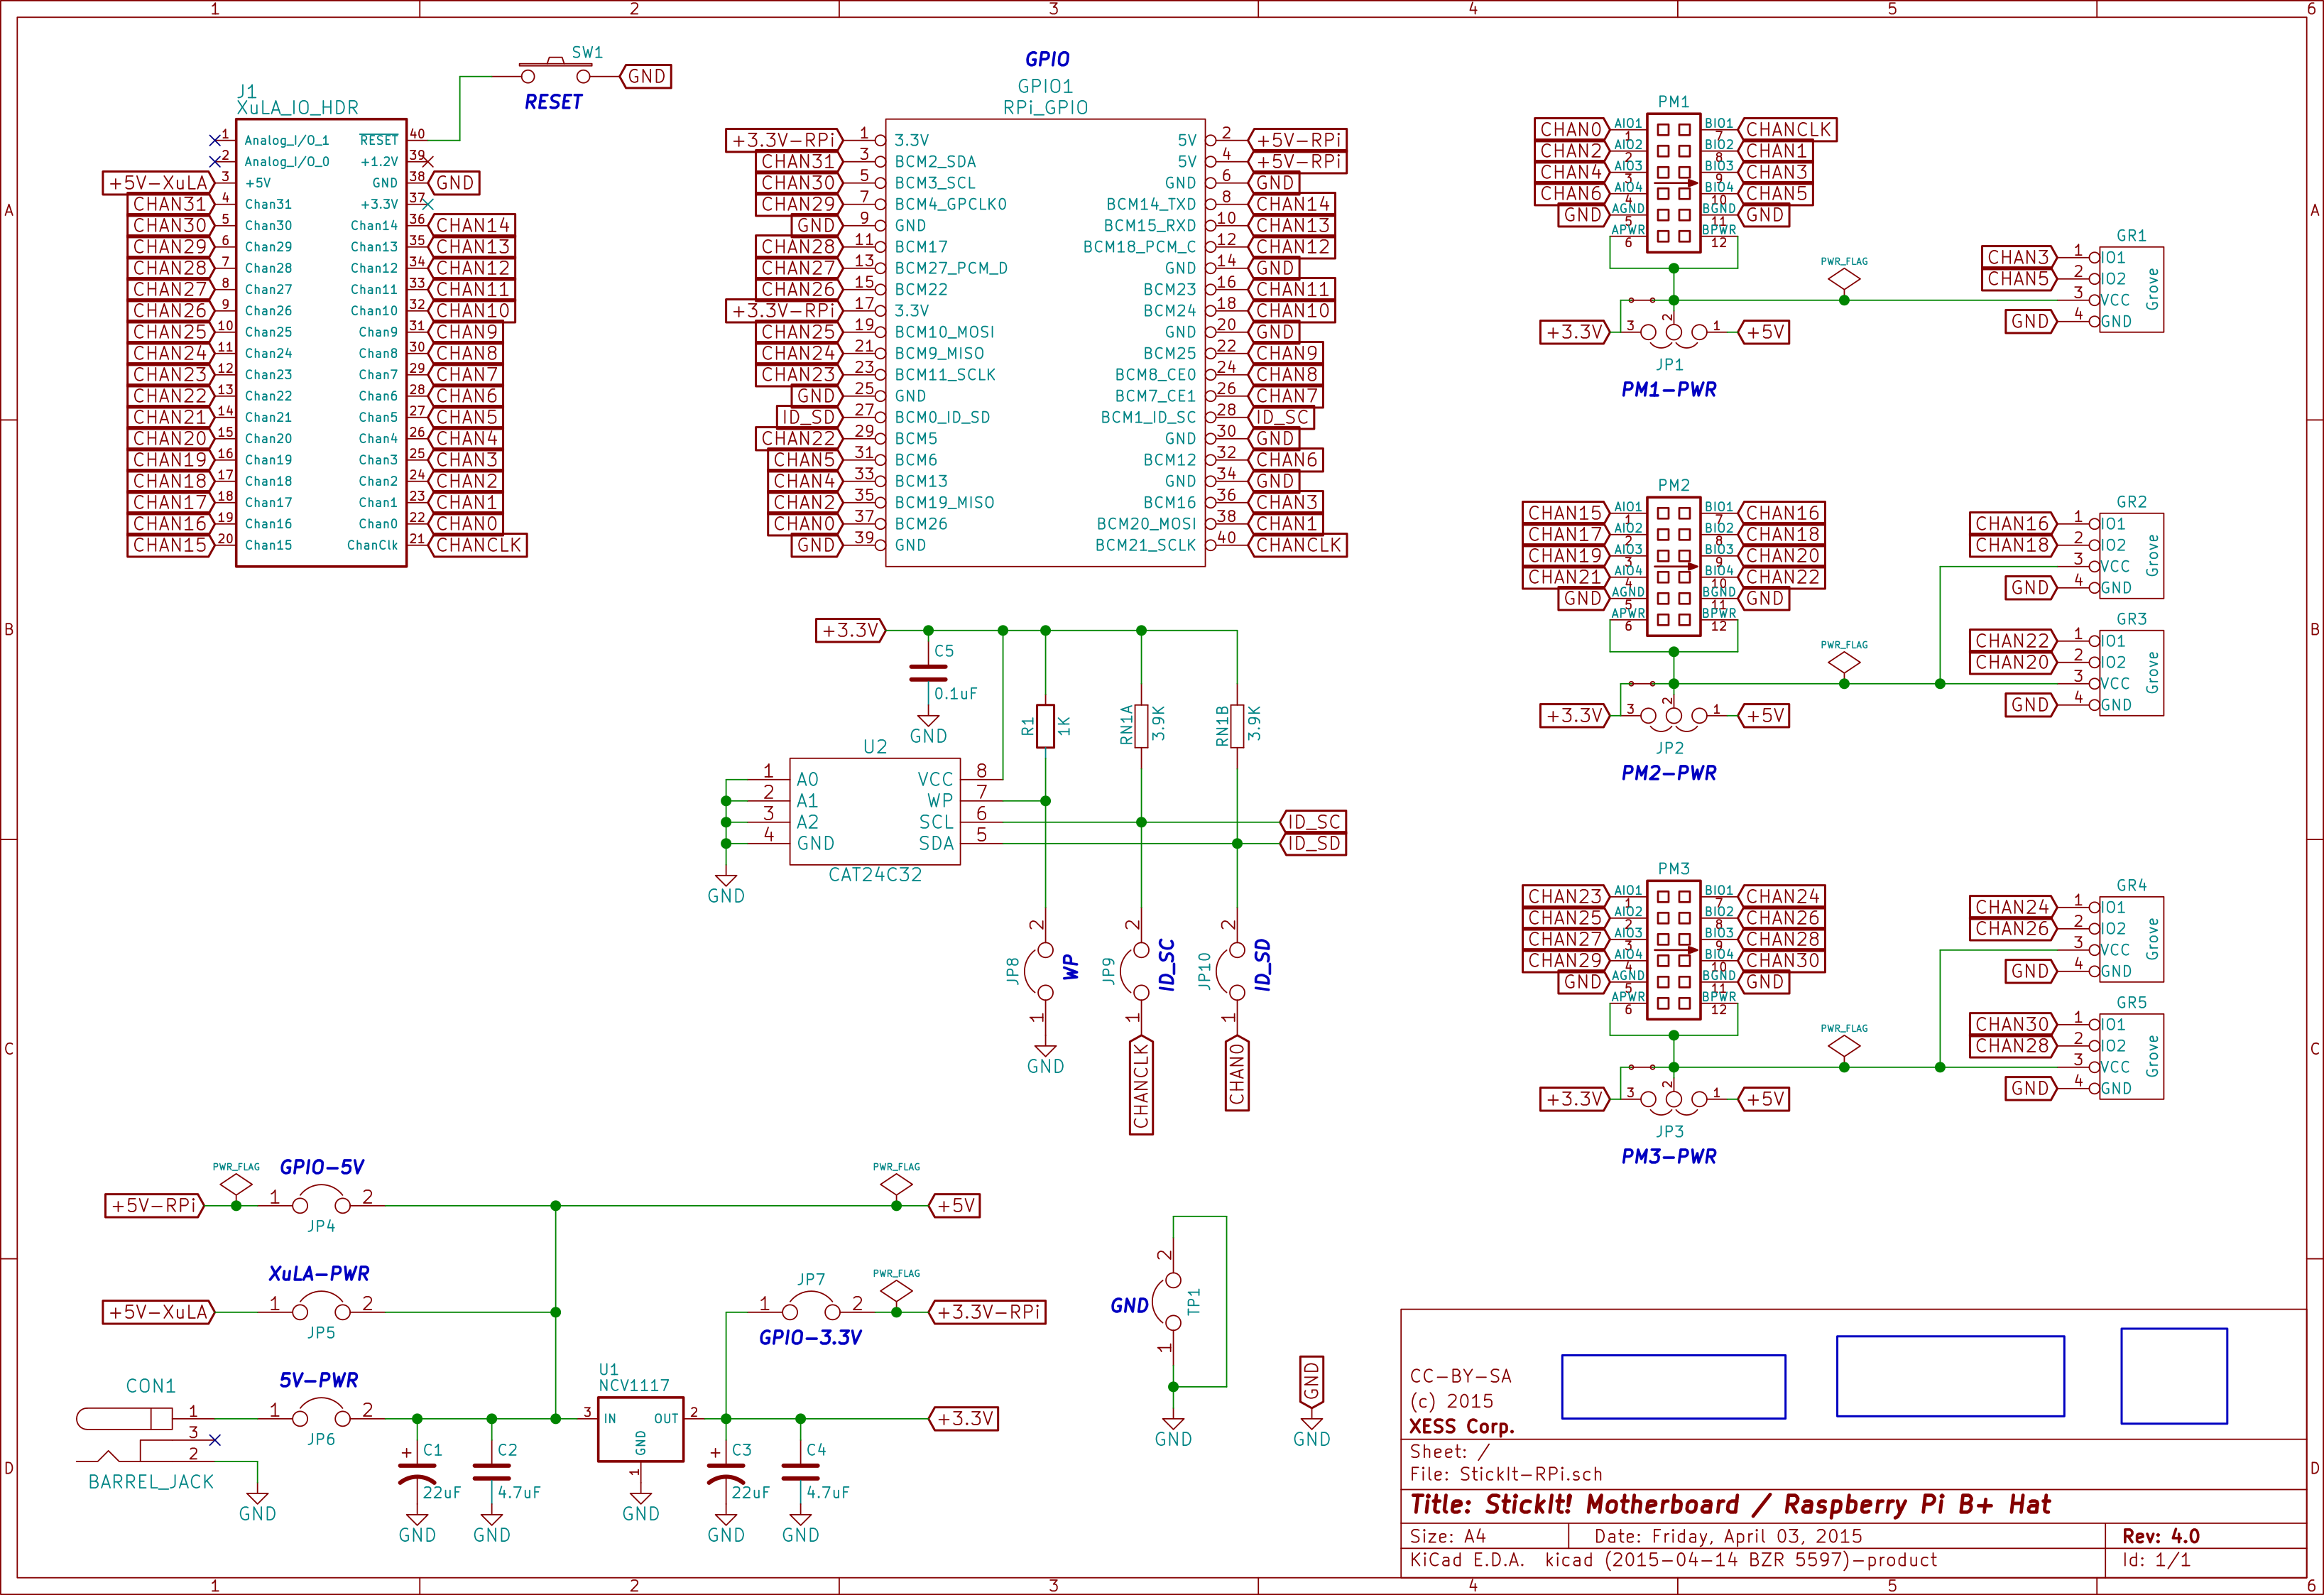
The HAT specification requires a serial EEPROM that the Raspberry Pi can read to get information about the device attached to its I/O connector. When you create an application for the Pi with the StickIt! Board, you'll store a list of the Pi I/O pins it uses in the EEPROM.
It is possible to read and write the EEPROM from the XuLA board. However, the device is small (only 4 KB) so you can't store much in it.
We added a 40-pin connector for the Raspberry Pi and slimmed down the board to make it comply with their HAT specification. That didn't leave room for the Wing sockets, so out they went. Going forward, we won't be doing any more StickIt! modules with Wing connectors.
Yes, but you'll have to use the PMOD interface since the Wing sockets are gone. You'll also have to modify your FPGA pin assignments since the PMOD-to-FPGA connections have changed a bit.


